


今回はRaspberry Pi 3のOSとしてUbuntuをインストールし、
Raspberry Pi 3とUbuntu
Raspberry Pi 3でXubuntu 16.
とはいえ、
インストール ステージ1
何はなくともインストールイメージをARM/
microSDカードを用意し、
$ xzcat ubuntu-16.04-preinstalled-server-armhf+rasPi 3.img.xz | sudo dd of=/dev/sdf
完了後、
インストール ステージ2
Raspberry Pi 3から起動するとコンソールログインになります。初期ユーザー名/
まずは最初にapt updateを実行します。
$ sudo apt update
続いて最低限必要なパッケージをインストールします。avahi-daemonは必須として、
$ sudo apt install avahi-daemon vim
以後はRaspberry Pi 3で実行してもいいですし、
avahi-daemonパッケージがインストールされており、
$ ssh [email protected]
ssh接続するメリットのうちの一つが、
パッケージのダウンロード元がマスターサーバーになっているため、
deb http://jp.archive.ubuntu.com/ports/ xenial main restricted universe multiverse
deb-src http://jp.archive.ubuntu.com/ubuntu/ xenial main restricted universe multiverse

deb http://jp.archive.ubuntu.com/ports/ xenial-security main restricted universe multiverse
deb-src http://jp.archive.ubuntu.com/ubuntu/ xenial-security main restricted universe multiverse

deb http://jp.archive.ubuntu.com/ports/ xenial-updates restricted main multiverse universe
deb-src http://jp.archive.ubuntu.com/ubuntu/ xenial-updates restricted main multiverse universe

deb http://jp.archive.ubuntu.com/ports/ xenial-backports restricted main multiverse universe
deb-src http://jp.archive.ubuntu.com/ubuntu/ xenial-backports restricted main multiverse universe
書き換えが終わったら保存します。
続いてPPAを追加します。
$ sudo add-apt-repository ppa:ubuntu-raspi2/ppa
リポジトリを更新し、
$ sudo apt update
$ sudo apt upgrade
最初のコマンドでエラーが出た場合は、
続いてロケールやタイムゾーンの設定です。次のコマンドを実行してください。
$ sudo locale-gen ja_JP.UTF-8
$ echo "LANG=ja_JP.UTF-8" | sudo tee /etc/default/locale
$ sudo dpkg-reconfigure -f noninteractive locales
$ echo "Asia/Tokyo" | sudo tee /etc/timezone
$ sudo dpkg-reconfigure -f noninteractive tzdata
sudo: unable to resolve host ubuntuなど名前解決ができない旨のメッセージが表示される場合は、/etc/を確認してください。2行目に127.があるか確認し、
日本語キーボードを使用している場合は、XKBLAYOUT="us"をXKBLAYOUT="jp"に変更し、
$ sudo dpkg-reconfigure -f noninteractive keyboard-configuration
いったんここで再起動します。
いよいよ大量のパッケージをインストールします。次のコマンドを実行してください。
$ sudo apt install ubuntu-desktop gnome-session-flashback xserver-xorg-video-fbturbo dphys-swapfile
インストールには時間がかかるので、
続いて設定変更を行います。まずは/etc/
Section "Device"
    Identifier "Raspberry Pi FBDEV"
    Driver "fbturbo"
    Option "fbdev" "/dev/fb0"
    Option "SwapbuffersWait" "true"
EndSection
ネットワークの設定をNetwork Managerで管理する場合は、
# Source interfaces
# Please check /etc/network/interfaces.d before changing this file
# as interfaces may have been defined in /etc/network/interfaces.d
# See LP: #1262951
# source /etc/network/interfaces.d/*.cfg
ここまで設定が完了したら再起動してください。いよいよGUIでログインします。
ログイン
ログイン時にユーザー名
日本語関連パッケージのインストール
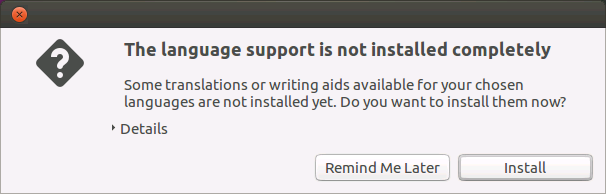
今回は日本語関連パッケージのインストールはGUIで行います。
[The language support is not installed completely]
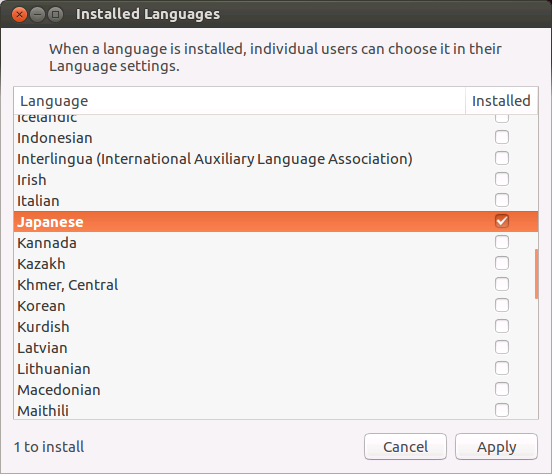
Language Supportが起動するので、
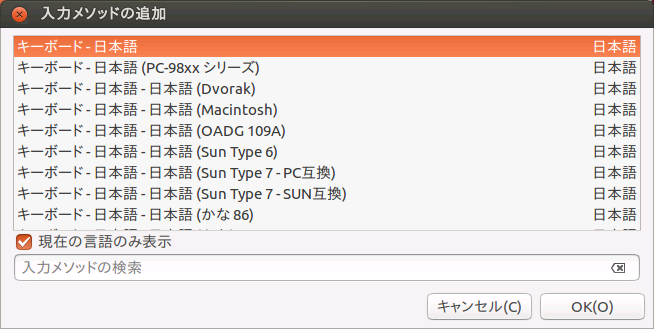
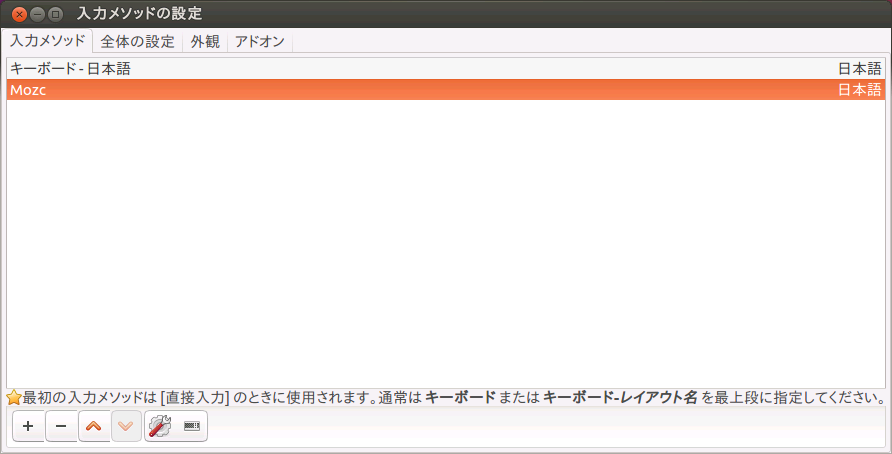
Fcitxを使用する場合は、

もし英語キーボードとして認識されている場合は、

タイムゾーン
もしタイムゾーンが
$ sudo dpkg-reconfigure tzdata
[地理的領域]
無線LAN
無線LANを使用する場合は、
$ echo "JP" > sudo tee /etc/wpa_supplicant/wpa_supplicant.conf
次回予告
次回はUbuntu Pi Flavour MakerのUbuntu Serverイメージに、