


Ubuntuはデスクトップ向け・
SnappyとかSnapとか言われてきたUbuntu Core
もともと
当時の
その後、
現在は次のように名前を使い分けているようです。
- Ubuntu Core:IoT向けにsnapベースで構築したUbuntuシステムの総称。ベースシステムのバージョンに合わせて
「Ubuntu Core 18 (UC18)」と表現することも。 - core18:ベースシステムのバージョン名であり、
システム自体のsnapパッケージでもある。Ubuntu 18. 04 LTSベースなら 「core18」、 Ubuntu 20. 04 LTSベースなら 「core20」 となる。 - snap:Ubuntu Coreで採用されているパッケージ管理システムであり管理用のコマンド。
- snapd:snapパッケージを管理するデーモン。実質snapシステムの要石であり、
snapdさえ一貫性が保たれていたら、 core18とcore20をひとつのシステムで共存させることも可能。 - Snap Store:snapパッケージの公式リポジトリ。独自ブランドのリポジトリを構築する方法も用意されている。
- snapcraft:snapパッケージをビルドするためのツールであり、
アプリ開発者向けのポータルサイト。
2020年12月時点での最新版はUbuntu 18.
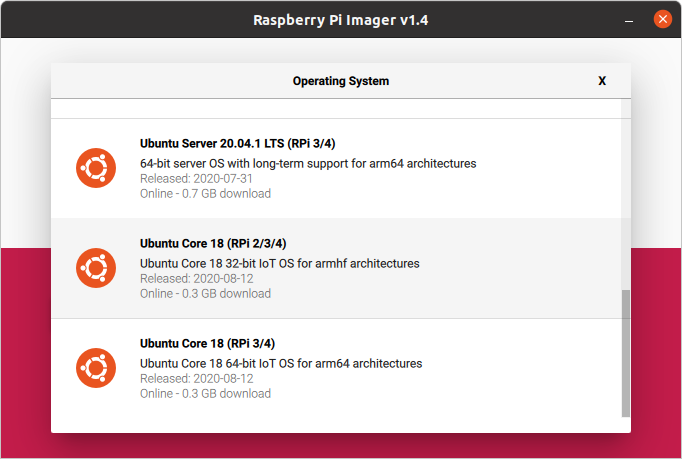
Raspberry PiにUbuntu Coreをインストールする
Ubuntu CoreはIoT向けを名乗るだけあって、
Ubuntu Coreの選択肢は次の2種類です。
- armhfアーキテクチャーの32bit版システム:Raspberry Pi 2/
3/4、 CM3に対応 - arm64アーキテクチャーの64bit版システム:Raspberry Pi 3/
4、 CM3に対応
Raspberry Pi 2を使うならarmhfを、
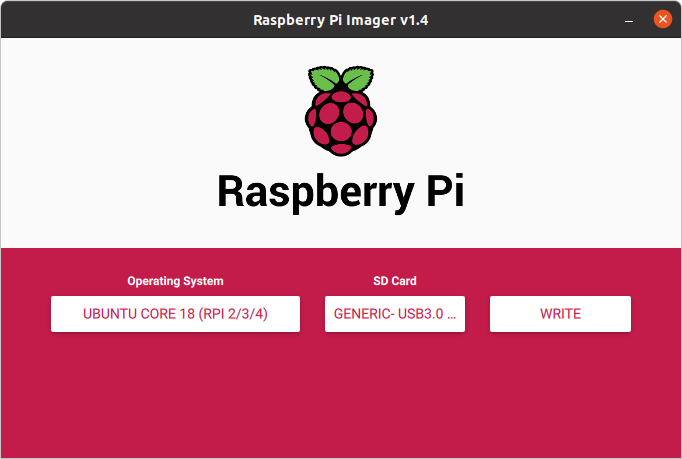
まずはRaspberry Pi Imagerをインストールします。
$ sudo snap install rpi-imager
「Super + A」
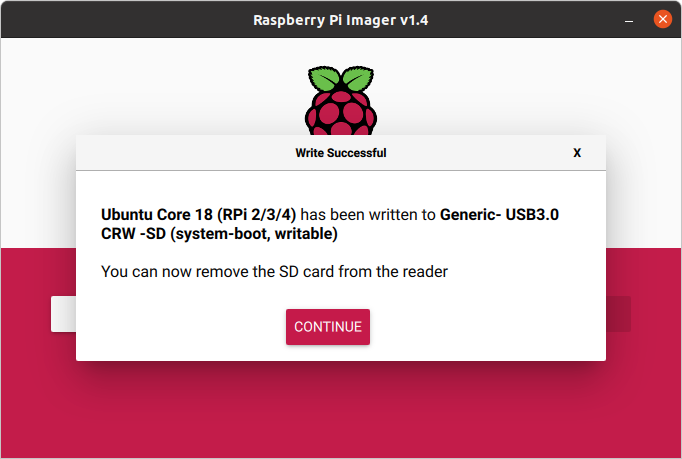
あとは作成したSDカードをRaspberry Piに接続して起動するだけです。ちなみに
- HDMIディスプレイとHDMIケーブル
- LANケーブル
- USB接続のキーボード
- Ubuntu Oneアカウント
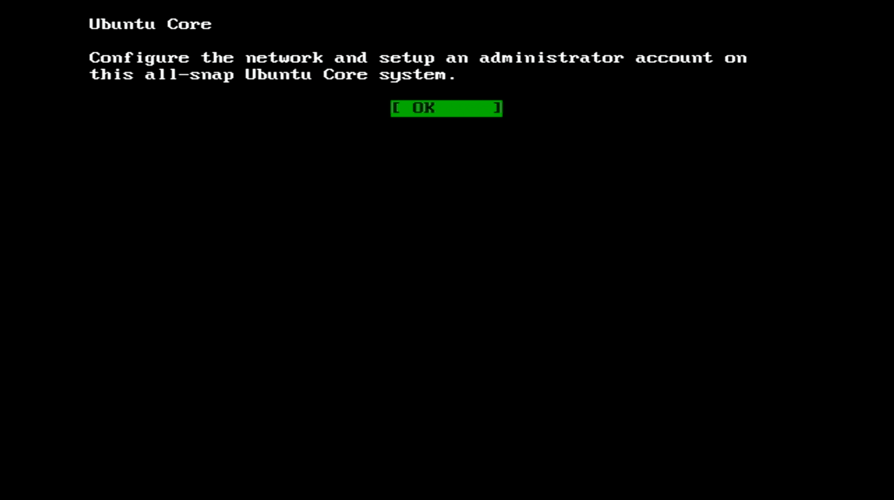
Ubuntu Coreをインストールするためには、
なぜインストールだけで、
たとえばIoTなデバイスはPCと異なり
しかしながらシステムにログインできないというのはそれはそれで不便なのでSSHでのログインは許可しています。とはいえパスワードログインを許可してしまうと、
ちなみにこれらの挙動は
話を元に戻すと、

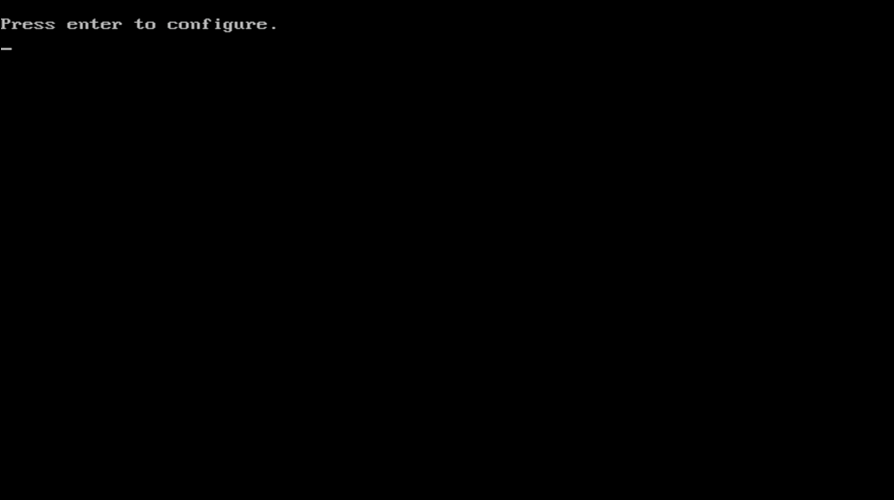


ちなみにUbuntu Core 18時点ではインストール時にキーボードレイアウトを指定する方法が存在しません。英語キーボードでの入力となりますので、
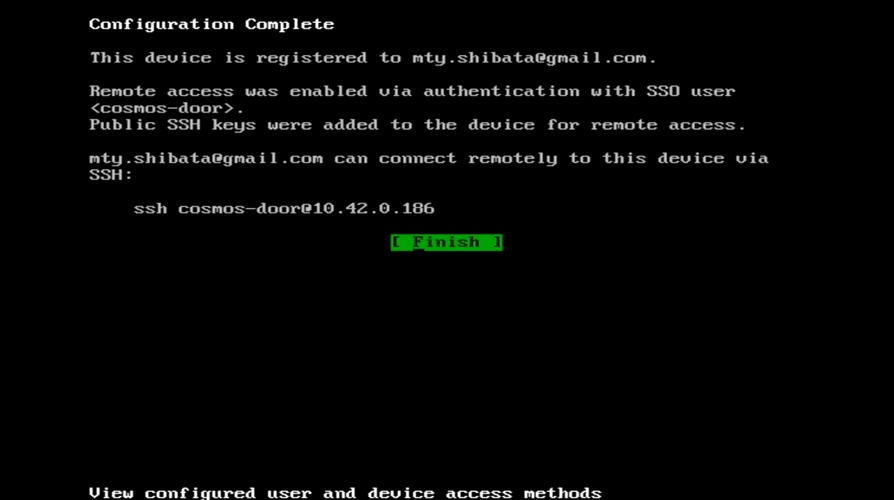
インストールが完了するとアクセス用のIPアドレスとSSHコマンドが表示されますので、
ちなみにインストール直後はシステムの自動アップデートが行われ、

インストール後はディスプレイには接続案内しか表示されませんし、
Ubuntu Coreの基本操作方法
ログインすると見た目上は普通のUbuntuです。
Welcome to Ubuntu Core 18 (GNU/Linux 5.3.0-1030-raspi2 armv7l)

The programs included with the Ubuntu system are free software;
the exact distribution terms for each program are described in the
individual files in /usr/share/doc/*/copyright.

Ubuntu comes with ABSOLUTELY NO WARRANTY, to the extent permitted by
applicable law.

 * Ubuntu Core:     https://www.ubuntu.com/core
 * Community:       https://forum.snapcraft.io
 * Snaps:           https://snapcraft.io

This Ubuntu Core 18 machine is a tiny, transactional edition of Ubuntu,
designed for appliances, firmware and fixed-function VMs.

If all the software you care about is available as snaps, you are in
the right place. If not, you will be more comfortable with classic
deb-based Ubuntu Server or Desktop, where you can mix snaps with
traditional debs. It's a brave new world here in Ubuntu Core!

Please see 'snap --help' for app installation and updates.
cosmos-door@localhost:~$
試しにaptコマンドやdpkgコマンドを使ってみましょう。
$ apt
Ubuntu Core does not use apt-get, see 'snap --help'!

$ dpkg
-bash: dpkg: command not found
aptコマンドを使おうとするとsnapを使うように指示されますし、
リソースの使用量を見てみましょう。今回はどこのご家庭にも死蔵されているであろうRaspberry Pi 2に32bit版のUbuntu Coreをインストールしてみました。
$ uname -a
Linux localhost 5.3.0-1036-raspi2 #38-Ubuntu SMP Thu Oct 15 14:42:05 UTC 2020 armv7l armv7l armv7l GNU/Linux
メモリの使用量は90MB程度です。ほとんど使っていないようですね。
$ free -h
              total        used        free      shared  buff/cache   available
Mem:           852M         90M        579M        8.9M        183M        739M
Swap:            0B          0B          0B
ルートファイルシステムはというと、
$ df -h /
Filesystem      Size  Used Avail Use% Mounted on
/dev/loop0       46M   46M     0 100% /
Ubuntu Coreはベース部分を読み込み専用でマウントし、
$ df -h /writable/
Filesystem      Size  Used Avail Use% Mounted on
/dev/mmcblk0p2  7.1G  538M  6.2G   8% /writable
このため普通のLinuxっぽく/etc以下の設定ファイルを書き換えても、
$ sudo timedatectl set-timezone Asia/Tokyo
$ timedatectl
                      Local time: Sat 2020-12-12 22:07:19 JST
                  Universal time: Sat 2020-12-12 13:07:19 UTC
                        RTC time: n/a
                       Time zone: Asia/Tokyo (JST, +0900)
       System clock synchronized: yes
systemd-timesyncd.service active: no
                 RTC in local TZ: no

$ sudo hostnamectl set-hostname raspi
$ hostname
raspi
Snappyの頃は
ちなみに起動時間はこんな感じです。Snappyの頃は起動にかなり時間がかかっていたのですが、
$ systemd-analyze
Startup finished in 9.453s (kernel) + 15.605s (userspace) = 25.058s
graphical.target reached after 15.532s in userspace
Nextcloudパッケージのインストール
今回はsnapパッケージを使用する例として、
Raspberry Piの場合は、
$ snap list
Name       Version        Rev    Tracking       Publisher   Notes
core18     20200929       1937   latest/stable  canonical✓  base
pi         18-1           73     18-pi/stable   canonical✓  gadget
pi-kernel  5.3.0-1036.38  219    18-pi/stable   canonical✓  kernel
snapd      2.48.1         10495  latest/stable  canonical✓  snapd
ここにnextcloudパッケージをインストールします。snap版のnextcloudパッケージについては、
snapパッケージのインストール方法は
$ snap find nextcloud
Name                Version                    Publisher           Notes   Summary
nextcloud           20.0.3snap1                nextcloud✓          -       Nextcloud Server - A safe home for all your data
spreedme            0.29.5snap1                nextcloud✓          -       Spreed.ME audio/video calls and conferences feature for the Nextcloud Snap
qownnotes           20.12.4                    pbek                -       Plain-text file markdown note taking with Nextcloud / ownCloud integration
(以下略)
「✓」
とりあえず
$ snap info nextcloud
name:      nextcloud
summary:   Nextcloud Server - A safe home for all your data
(略)
description: |
(略)
commands:
  - nextcloud.disable-https
(略)
services:
  nextcloud.apache:          simple, enabled, active
(略)
channels:
  latest/stable:    20.0.3snap1               2020-12-10 (24942) 258MB -
  latest/candidate: ↑
  latest/beta:      ↑
  latest/edge:      master-2020-12-12         2020-12-12 (24995) 272MB -
  20/stable:        20.0.3snap1               2020-12-10 (24942) 258MB -
  20/candidate:     ↑
  20/beta:          ↑
  20/edge:          20-2020-12-12             2020-12-12 (24994) 258MB -
infoは大量の情報を表示するので、--channel=20/」
今回は何も指定せずにインストールしてみましょう。
$ snap install nextcloud
nextcloud 20.0.3snap1 from Nextcloud✓ installed
snapによるシステムの変更履歴は、
$ snap changes
ID   Status  Spawn               Ready               Summary
1    Done    today at 21:02 JST  today at 21:03 JST  Initialize system state
2    Done    today at 21:04 JST  today at 21:05 JST  Initialize device
3    Done    today at 21:05 JST  today at 21:16 JST  Auto-refresh snaps "snapd", "pi-kernel", "core18"
4    Done    today at 21:39 JST  today at 21:44 JST  Install "nextcloud" snap
さて、
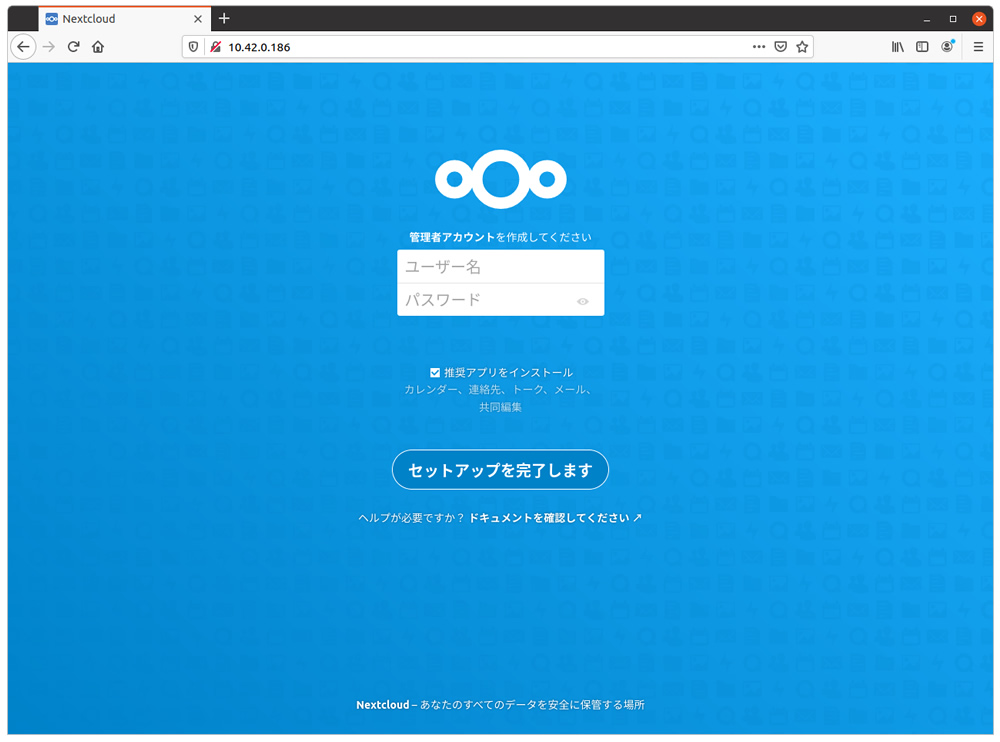
アカウント情報を入力したら、
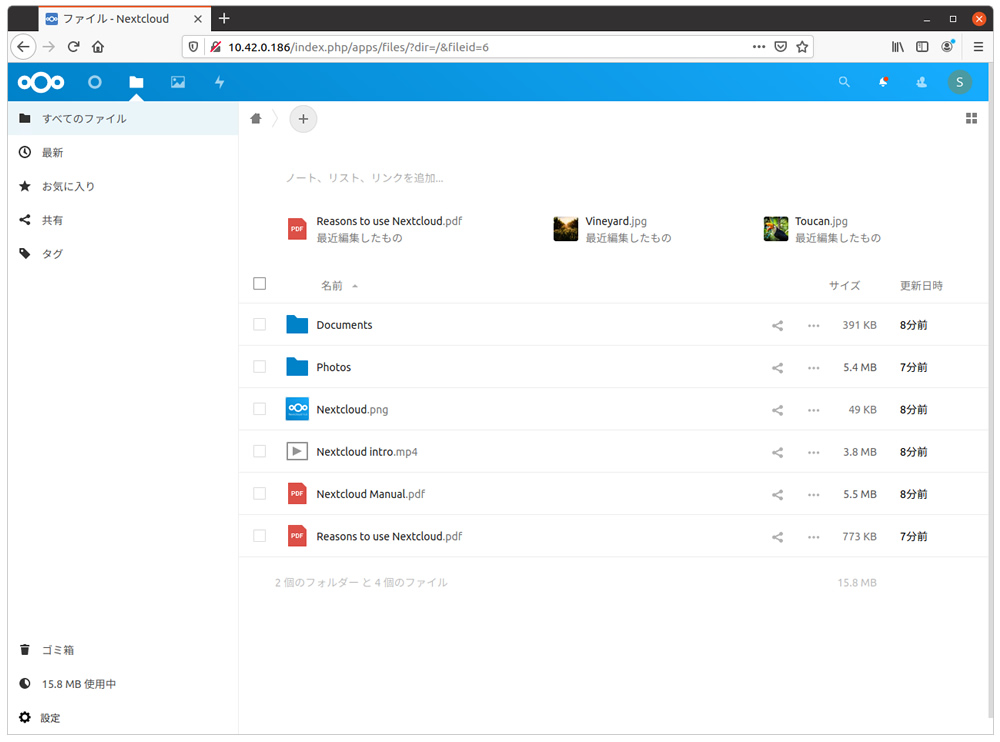
あとはただのNextcloudなので自由に使ってください。ただしRaspberry Piの場合は、
まずUbuntu Coreにおいて外部ストレージをマウントする方法です。もちろんmountコマンドを使って手動でマウントできますが、
# Auto-generated by /init
# DO NOT EDIT THIS FILE BY HAND - YOUR CHANGES WILL BE OVERWRITTEN
どうやらこのファイルを編集するのはまずそうです。では、
まずはmount unitファイルを作成しましょう。Ubuntu Coreの/etc/」/writable/」
$ cat <<'EOF' | sudo tee /writable/system-data/etc/systemd/system/media-data.mount
[Unit]
Description=External Storage for Nextcloud

[Mount]
What=/dev/disk/by-label/EXT
Where=/media/data
Type=ext4

[Install]
WantedBy=multi-user.target
EOF
ポイントは次のとおりです。
- Whatでディスクラベルを使ってストレージを指定
- Whereでマウントポイントを指定
- Typeでファイルシステムを指定
Whatについては他にもUUIDなどを利用可能ですし、
気をつけなければいけないのはマウントポイントとunitファイルのファイル名の関係です。systemdではマウントポイントを
今回はシンプルに依存関係なども考えない設定にしましたが、
あとは設定ファイルをリロードして、
$ sudo systemctl daemon-reload
$ sudo systemctl start media-data.mount
$ sudo systemctl enable media-data.mount
さらにnextcloudパッケージから
removable-mediaインターフェースは、
$ sudo snap connect nextcloud:removable-media
これでnextcloudから/media/
Ubuntu Coreを紹介する都合上、